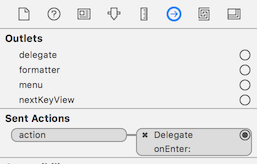
Add Action in NSTextField’s Delegate
|
|
Connect NSTextField’s Action to Delegate’s One
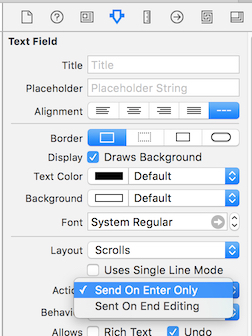
Set NSTextField’s Action Type
This article records the detailed steps to add localizations for a project. The project could be downloaded here.
Development environment:
For localized app, typically you need to set the UI to ‘Auto Layout‘. As the same string in different languages may have very different length, the ‘auto layout’ could let each language corecttly display.
How to test the auto layout correclty work or not? Beside really test the app with different language, you can also use ‘Double-Length Pseudolanguage‘. This localization simply takes the text of your development language, and doubles it. So, for example, “Tell the World” becomes “Tell the World Tell the World.” While many pieces of text won’t actually double in length when translated to another langauge, it serves as a great way to test to see whether your interface can handle the wide variation in length.
Steps to preview a localization in Interface Builder:
.storyboard or .xib file you want to preview..storyboard or .xib file from the submenu.
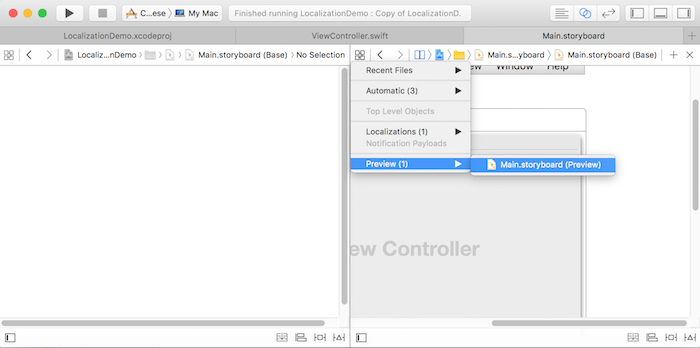
Now, a preview of the localization appears in the assistant editor. If you choose a real language, strings that do not need to be localized or need to be localized, but currently are not, appear in uppercase.